


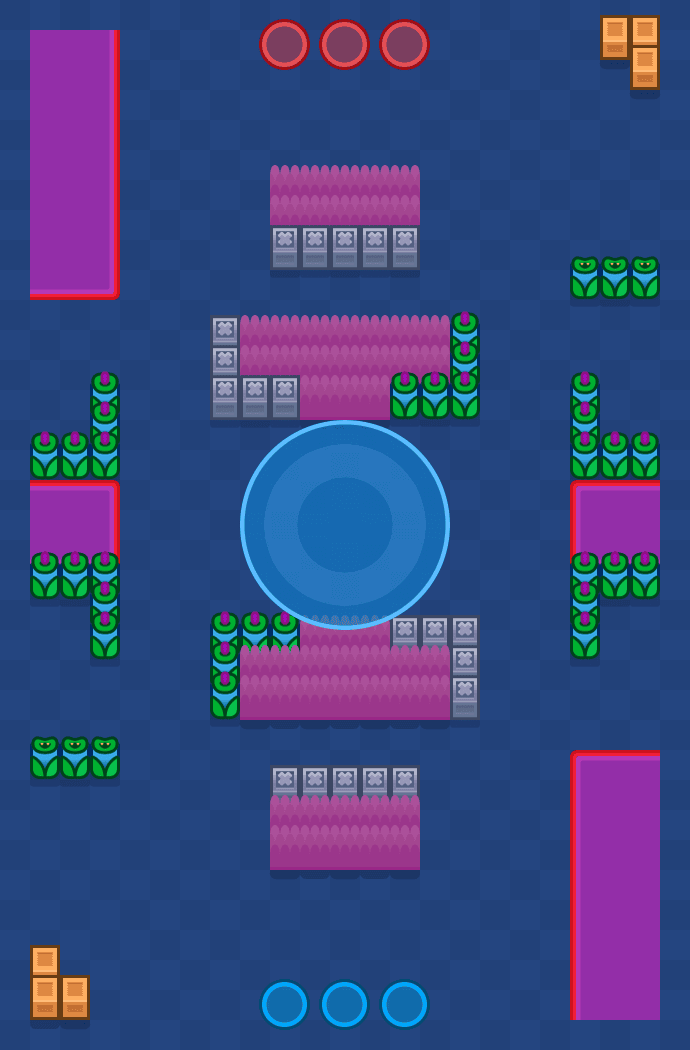
Best Brawlers for Hot Zone
Hot Zone is a 3v3 mode where you score by standing inside one or two zones. The best Hot Zone brawlers control space, cover a wide area and can stay alive on the point longer than the enemy.
Scope: all Hot Zone maps combined, from Ranked and regular 3v3 battles (not Ranked only).
Statistics as of today
Most reliable Hot Zone picks in this data: Cosmo (60.7%, 1,659 games), Juju (60%, 3,001 games) and Trunk (60%, 2,133 games).
Free. No download or sign-up needed — you can start in guest mode.
Best observed Hot Zone picks
All Hot Zone maps combined, in a conservative order: by the low end of each brawler's 95% range, so ranking high needs a high win rate and enough games. Observed results (see how BrawlPick's statistics work), not a personal recommendation.
| # | Brawler | Win rate | 95% range | Pick rate | Games |
|---|---|---|---|---|---|
| 1 | 60.7% | 58–63% | 2.3% | 1,659 | |
| 2 | 60% | 58–62% | 4.1% | 3,001 | |
| 3 | 60% | 58–62% | 2.9% | 2,133 | |
| 4 | 62.9% | 58–68% | 0.5% | 375 | |
| 5 | 58.7% | 57–60% | 6.7% | 4,840 | |
| 6 | 57.2% | 56–58% | 15.5% | 11,257 | |
| 7 | 58.5% | 56–61% | 2.1% | 1,524 | |
| 8 | 56.6% | 56–57% | 23.5% | 17,088 | |
| 9 | 56.8% | 55–59% | 4.1% | 3,003 | |
| 10 | 56% | 55–57% | 9.5% | 6,933 |
* Fewer than 150 games: a limited sample, so the range is wide.
Show the other 98 brawlers (ranks 11–108)
| # | Brawler | Win rate | 95% range | Pick rate | Games |
|---|---|---|---|---|---|
| 11 | 55.4% | 55–56% | 18.2% | 13,209 | |
| 12 | 55.2% | 54–56% | 11.7% | 8,517 | |
| 13 | 54.6% | 54–55% | 18.1% | 13,156 | |
| 14 | 56.1% | 54–59% | 2.2% | 1,609 | |
| 15 | 54.4% | 53–55% | 12.1% | 8,833 | |
| 16 | 55.1% | 53–57% | 4.1% | 2,950 | |
| 17 | 56.5% | 53–60% | 1.2% | 835 | |
| 18 | 55.2% | 53–58% | 2.3% | 1,663 | |
| 19 | 54.8% | 52–57% | 2.4% | 1,770 | |
| 20 | 52.4% | 51–54% | 9.2% | 6,672 | |
| 21 | 52.4% | 51–54% | 8.5% | 6,190 | |
| 22 | 53.4% | 51–56% | 2.5% | 1,782 | |
| 23 | 52.2% | 51–53% | 8.4% | 6,129 | |
| 24 | 52.1% | 51–53% | 9.9% | 7,177 | |
| 25 | 52.5% | 51–54% | 5.4% | 3,914 | |
| 26 | 54% | 51–57% | 1.4% | 1,011 | |
| 27 | 53.3% | 51–56% | 2.1% | 1,531 | |
| 28 | 51.7% | 51–53% | 15.5% | 11,264 | |
| 29 | 51.4% | 51–52% | 27.1% | 19,688 | |
| 30 | 52.1% | 51–54% | 5.4% | 3,926 | |
| 31 | 52.5% | 50–55% | 2.9% | 2,093 | |
| 32 | 51.6% | 50–53% | 8.1% | 5,908 | |
| 33 | 50.9% | 50–52% | 27.8% | 20,230 | |
| 34 | 53.3% | 50–56% | 1.3% | 972 | |
| 35 | 53.2% | 50–56% | 1.4% | 1,006 | |
| 36 | 51.3% | 50–53% | 5.8% | 4,229 | |
| 37 | 50.7% | 50–52% | 16% | 11,671 | |
| 38 | 50.9% | 49–52% | 6.2% | 4,529 | |
| 39 | 50.6% | 49–52% | 9.1% | 6,630 | |
| 40 | 50.1% | 49–51% | 22.8% | 16,587 | |
| 41 | 51% | 49–53% | 4.1% | 3,000 | |
| 42 | 52.6% | 49–56% | 1.2% | 835 | |
| 43 | 51.1% | 49–53% | 2.9% | 2,087 | |
| 44 | 49.8% | 49–51% | 17.4% | 12,692 | |
| 45 | 51.2% | 49–54% | 1.8% | 1,339 | |
| 46 | 50.5% | 48–53% | 2.7% | 1,964 | |
| 47 | 52.6% | 48–57% | 0.7% | 479 | |
| 48 | 50.4% | 48–53% | 2.3% | 1,701 | |
| 49 | 48.8% | 48–50% | 16.8% | 12,255 | |
| 50 | 49.8% | 48–52% | 3.4% | 2,480 | |
| 51 | 50.5% | 47–54% | 1.4% | 1,041 | |
| 52 | 49.2% | 47–51% | 3.1% | 2,238 | |
| 53 | 48.5% | 47–50% | 6.8% | 4,909 | |
| 54 | 50.7% | 47–54% | 1% | 694 | |
| 55 | 48.2% | 47–50% | 7.6% | 5,522 | |
| 56 | 48.4% | 47–50% | 5.6% | 4,046 | |
| 57 | 52.3% | 47–58% | 0.4% | 323 | |
| 58 | 51.4% | 47–56% | 0.6% | 420 | |
| 59 | 47.3% | 46–48% | 9.3% | 6,798 | |
| 60 | 48.3% | 46–51% | 2.7% | 1,937 | |
| 61 | 47% | 45–49% | 4.5% | 3,292 | |
| 62 | 49% | 45–53% | 0.9% | 679 | |
| 63 | 46.6% | 45–48% | 5.9% | 4,299 | |
| 64 | 46.5% | 45–48% | 5.5% | 4,034 | |
| 65 | 45.7% | 45–47% | 13.8% | 10,041 | |
| 66 | 46.6% | 45–49% | 3.6% | 2,605 | |
| 67 | 46.4% | 45–48% | 4.2% | 3,074 | |
| 68 | 46% | 45–48% | 5.8% | 4,251 | |
| 69 | 46.4% | 44–48% | 3.3% | 2,413 | |
| 70 | 47.1% | 44–50% | 1.7% | 1,224 | |
| 71 | 45.5% | 44–47% | 8.9% | 6,454 | |
| 72 | 46% | 44–48% | 3.3% | 2,414 | |
| 73 | 45.6% | 44–47% | 3.9% | 2,863 | |
| 74 | 44.9% | 44–46% | 7.7% | 5,598 | |
| 75 | 45% | 44–46% | 6.3% | 4,569 | |
| 76 | 45.3% | 44–47% | 4.2% | 3,083 | |
| 77 | 44.9% | 43–46% | 5.1% | 3,736 | |
| 78 | 45% | 43–47% | 4.5% | 3,245 | |
| 79 | 46% | 42–50% | 1% | 732 | |
| 80 | 45.5% | 42–49% | 1.2% | 903 | |
| 81 | 44.9% | 42–48% | 1.8% | 1,300 | |
| 82 | 44.3% | 42–47% | 1.8% | 1,320 | |
| 83 | 42.8% | 41–44% | 7.3% | 5,311 | |
| 84 | 42.4% | 41–44% | 10% | 7,259 | |
| 85 | 45.4% | 41–50% | 0.7% | 498 | |
| 86 | 44.7% | 41–48% | 1% | 696 | |
| 87 | 45.7% | 41–51% | 0.5% | 376 | |
| 88 | 42.2% | 40–45% | 2.4% | 1,777 | |
| 89 | 43.5% | 40–47% | 1% | 697 | |
| 90 | 42% | 40–44% | 2.2% | 1,604 | |
| 91 | 42.1% | 39–45% | 1.5% | 1,088 | |
| 92 | 41.5% | 39–44% | 1.8% | 1,334 | |
| 93 | 40.2% | 39–42% | 5.2% | 3,813 | |
| 94 | 41.1% | 38–44% | 1.8% | 1,313 | |
| 95 | 40.2% | 38–42% | 3.1% | 2,284 | |
| 96 | 40.7% | 38–44% | 1.4% | 1,017 | |
| 97 | 38.7% | 38–40% | 9.9% | 7,185 | |
| 98 | 38.8% | 37–40% | 5.6% | 4,098 | |
| 99 | 41.1% | 37–46% | 0.6% | 450 | |
| 100 | 37.8% | 36–40% | 3.5% | 2,558 | |
| 101 | 37.8% | 36–40% | 2.3% | 1,706 | |
| 102 | 37.4% | 34–41% | 1.2% | 896 | |
| 103 | 37.4% | 34–41% | 1.1% | 810 | |
| 104 | 41% | 34–48% | 0.3% | 183 | |
| 105 | 37.1% | 34–40% | 1.2% | 851 | |
| 106 | 32.7% | 30–35% | 2% | 1,455 | |
| 107 | 33.3% | 29–38% | 0.6% | 438 | |
| 108 | 22.5% | 19–27% | 0.6% | 462 |
Games: the brawler's appearances in Hot Zone. Pick rate (wider screens): picks per 100 Hot Zone battles. Brawlers with fewer than 100 Hot Zone games are not listed.
What the Hot Zone data shows
Brawlers in the top 10 on the most current Ranked Hot Zone maps:
- Amber — 3 of 4, not Parallel Plays
- Bibi — 3 of 4, not Ring of Fire
- Bo — 3 of 4, not Parallel Plays
- Shade — 3 of 4, not Ring of Fire
- Tick — 3 of 4, not Parallel Plays
- Ash — 2 of 4, not Dueling Beetles or Parallel Plays
- Controller brawlers make up 4 of the 10 strongest Hot Zone brawlers, against about 1.9 you would expect from their share of the table.
- Popular is not the same as strong, so compare the numbers: the most played Hot Zone brawler, Griff (20,230 games), ranks #33 of 108 in the table above.
Classes are the official in-game classes. These describe the observed games; they are not causes. Which pick fits your draft also depends on the role your team is missing — see the roles that work in Hot Zone.
Hot Zone maps
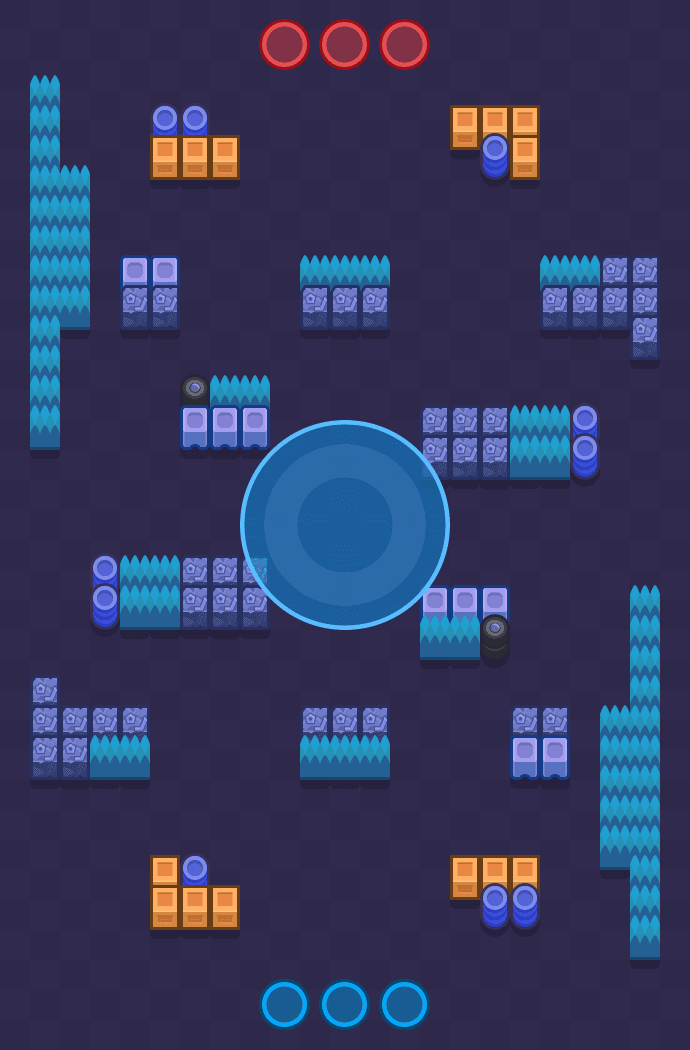
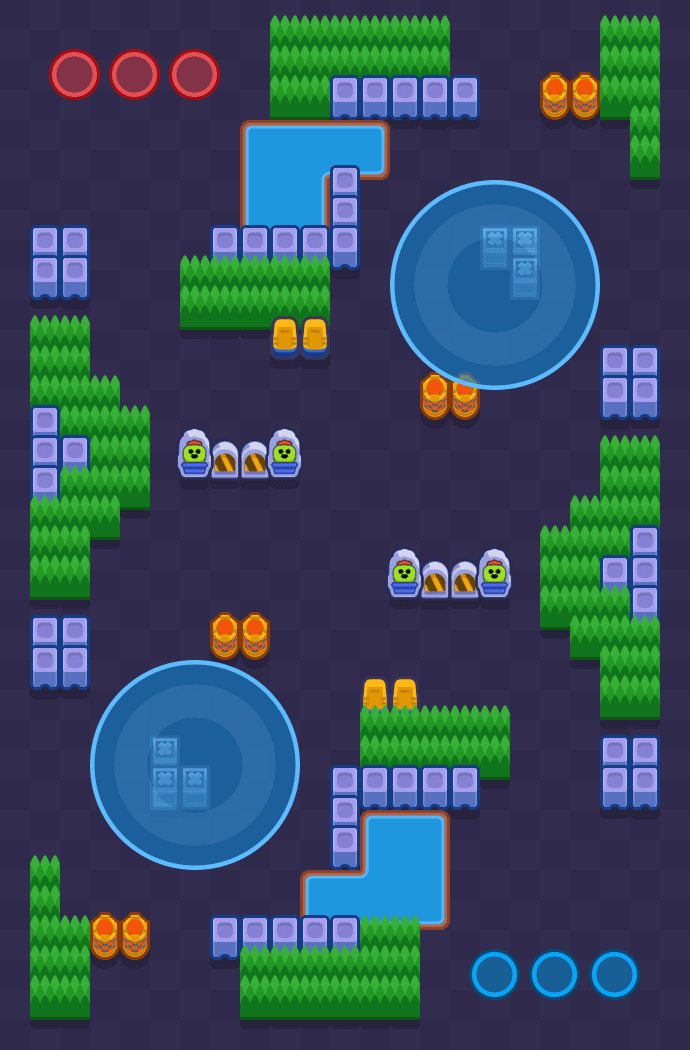
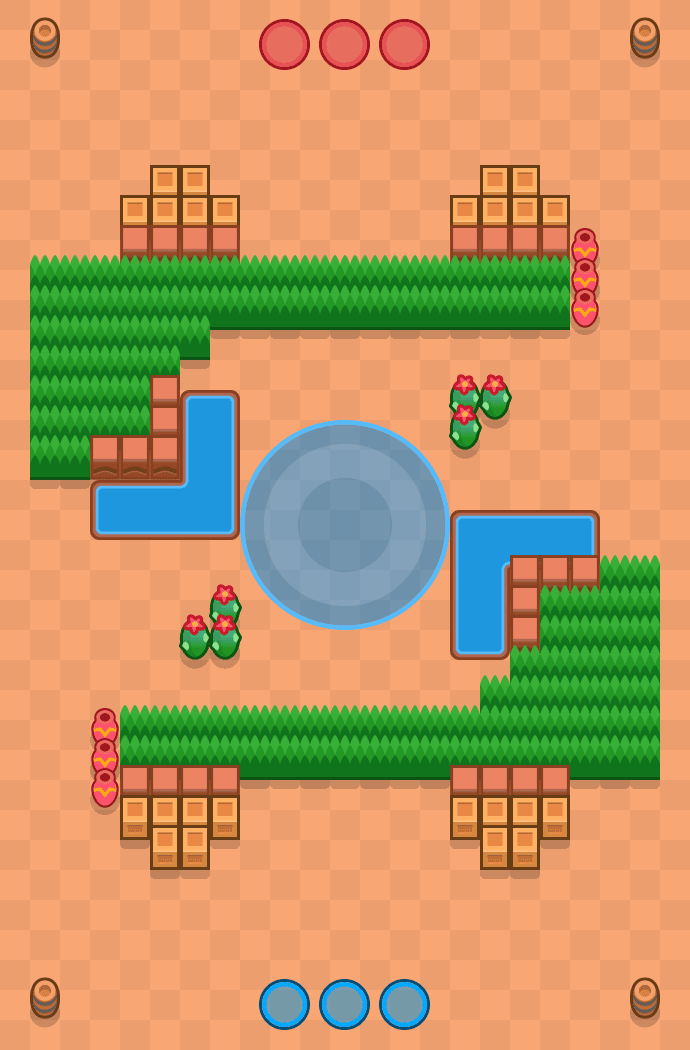
Each card lists the map's reliable picks (150+ games, 95% range above 50%) and links to the map's page, with its full table and a picker for that map. The Ranked badge is the rotation as last detected from Ranked battles; every map's numbers include Ranked and regular battles.
In the current Ranked rotation
Other Hot Zone maps with data
Not in the Ranked rotation as last detected — Trophy maps, or maps that have left the rotation.
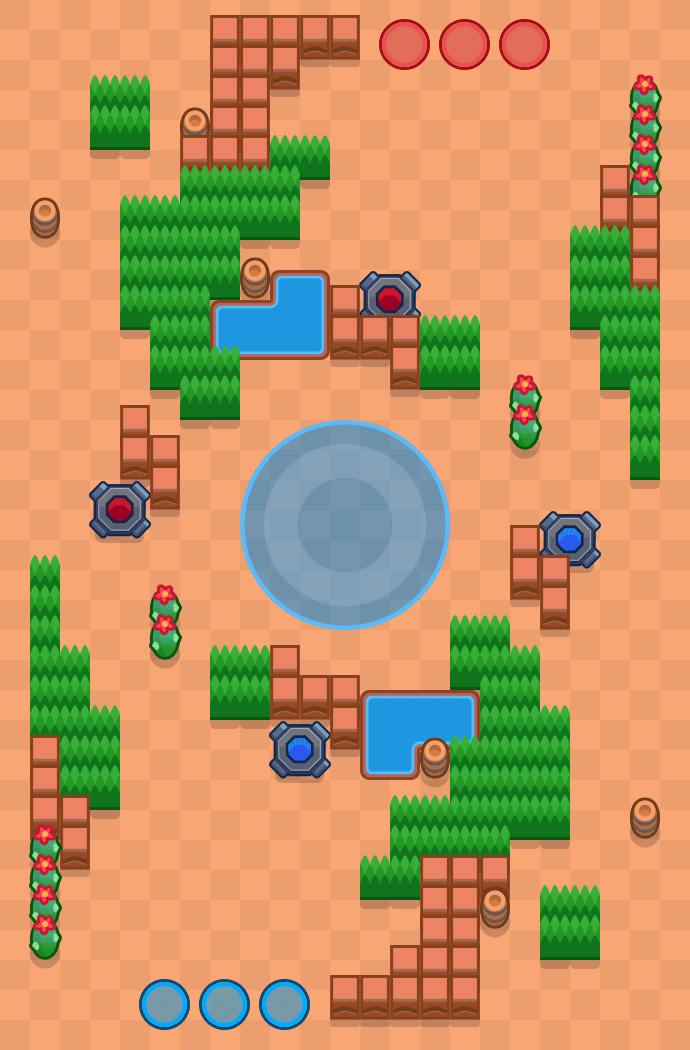
2,935 battles
Reliable picks (150+ games)
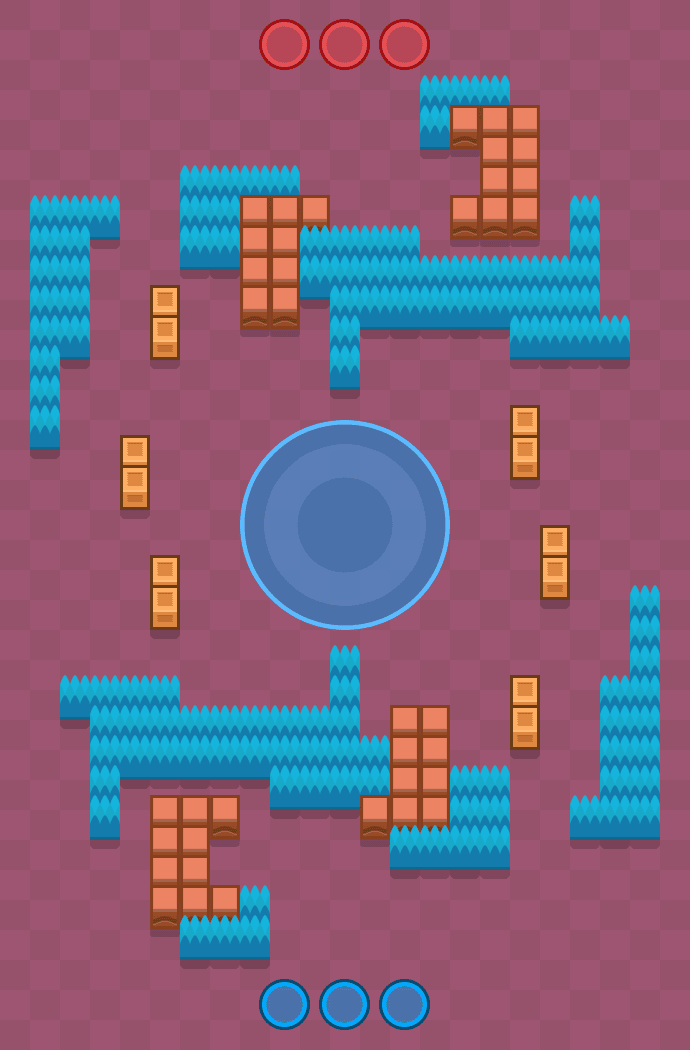
7,775 battles
Reliable picks (150+ games)
6,899 battles
Reliable picks (150+ games)
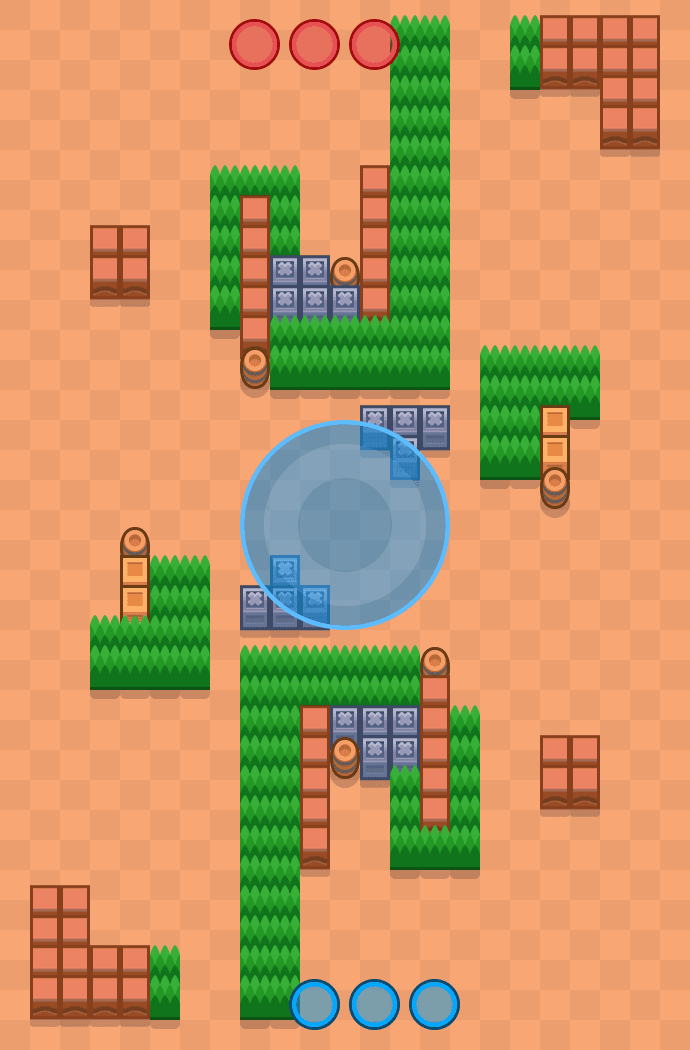
Reach for the Stars
743 battles
Reliable picks (150+ games)
No brawler has 150+ games and a range above 50% here yet.
Not enough games yet for a full map page.
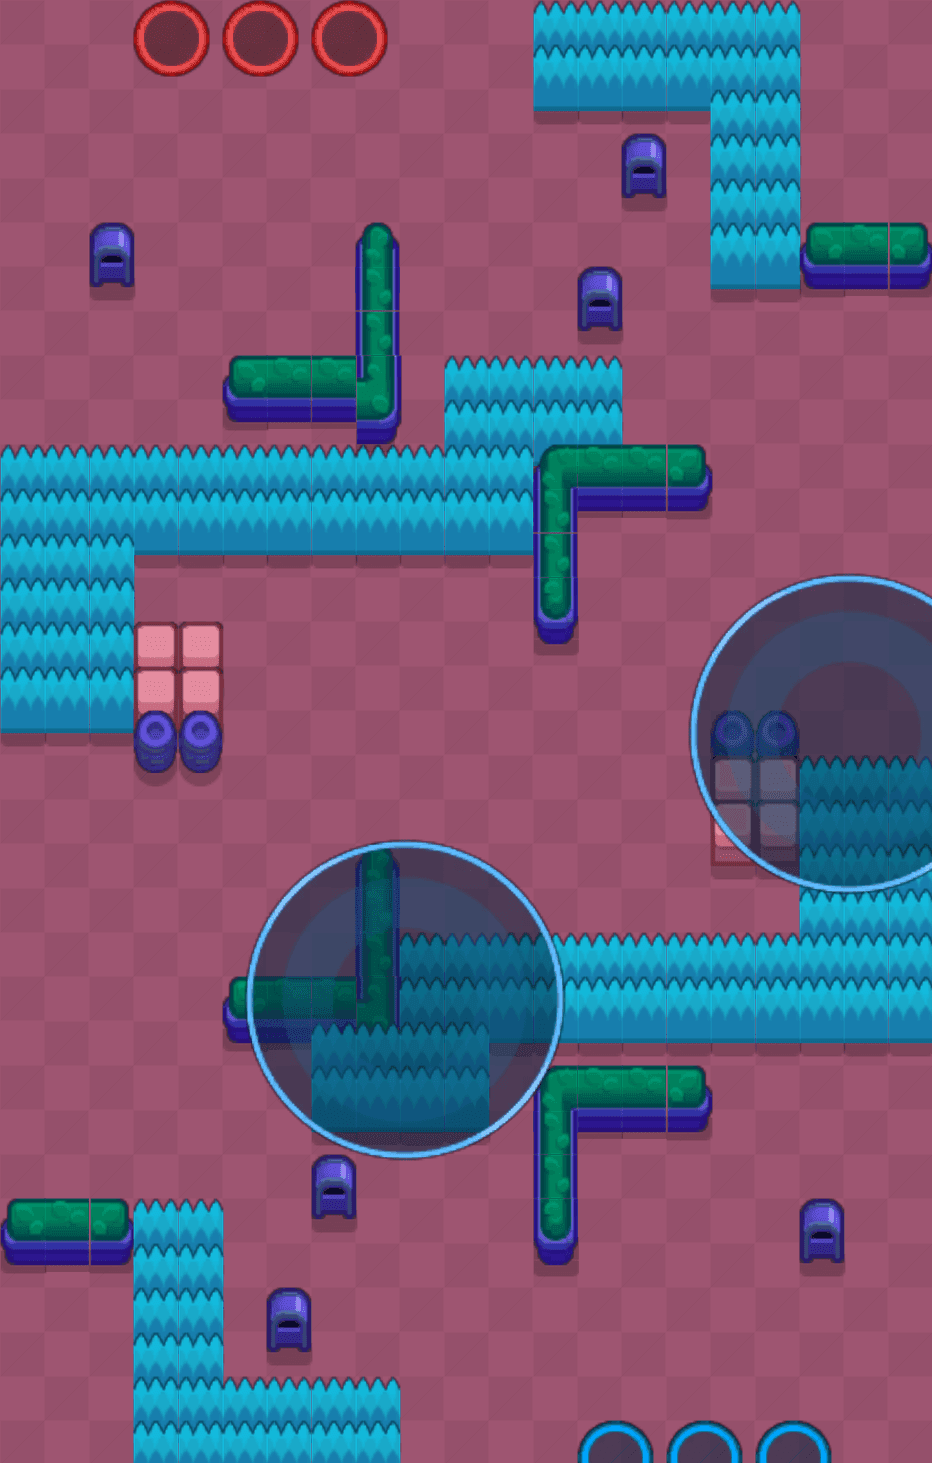
5,532 battles
Reliable picks (150+ games)
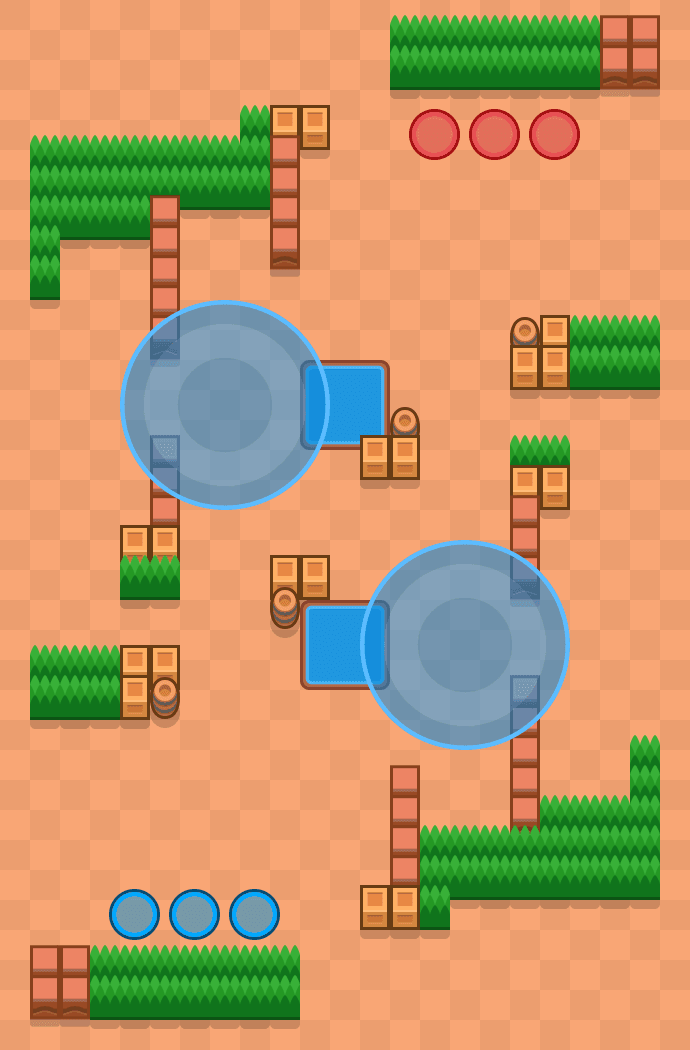
1,163 battles
Reliable picks (150+ games)
No brawler has 150+ games and a range above 50% here yet.
11 more Hot Zone maps without enough recent data
Maps BrawlPick knows for Hot Zone that were played too rarely in the current data to show numbers — or not at all. Being listed here does not mean a map is in the game right now.
- Abracadabra
- Back Shuffle
- Fishing Bed
- Hyacinth House
- Just Another Race to Anywhere
- Open Zone
- Playmaker
- Tax Evasion
- The Seven Pillars of Humanity
- Ticket to Die
- Zone Splitting
Playing Hot Zone? Open BrawlPick with Hot Zone selected
Opens a Ranked draft with Hot Zone chosen — you pick the map, and the recommendation accounts for your team, the enemy picks and the brawlers you own.
Hot Zone tier list from win rates
A data-based tier list: it sums up the observed results and their uncertainty in this sample — not an official or community tier list, and no guarantee of how strong a pick is in your draft. Each tier compares one brawler's 95% range with a 50% win rate (the same numbers as the table), not brawlers with each other. B does not mean average: the range still includes 50%, so this sample cannot tell whether the brawler wins more or less than half its games. Brawlers near a boundary can change tier as more games come in.
Tier S: Clearly well above 50%
whole 95% range at least 5 points above 50% · 9 brawlersTier A: Clearly above 50%
whole range above 50% · 26 brawlersTier B: Inconclusive
range includes 50%: could be above or below, not shown to be average · 22 brawlersTier C: Clearly below 50%
whole range below 50% · 32 brawlersTier D: Clearly well below 50%
whole range at least 5 points below 50% · 19 brawlersMost played and promising Hot Zone picks
Most played
The brawlers picked most often in Hot Zone in this sample. Popular is not the same as strong — compare the win rates and ranges.
Hot Zone strategy
General game knowledge — not taken from the statistics above.
What Hot Zone rewards
You do not need kills to win — you need presence on the zone. Brawlers with wide attacks, area denial and good sustain can hold the point while contesting the enemy. Spread damage and crowd control are often more useful here than single-target burst.
Roles that work
- Area control — wide or spread attacks that cover the whole zone.
- Sustain — healing or shielding to stay on the point under fire.
- Zoning — throwers and control brawlers that deny the enemy space.
Two zones reward brawlers that can pressure both points or rotate quickly, so consider coverage as a team rather than three picks fighting for the same tile.
How the map and the draft change the pick
Zone placement and surrounding cover change which brawlers dominate. Open zones favour range and spread; walled zones favour throwers and burst. The best brawlers for maps guide explains how to read those layouts.
Mode-wide statistics describe Hot Zone as a whole. In a real match the bans, your teammates' picks and the enemy team change the answer — a strong mode-wide pick can be a poor pick into the wrong team. That is what the BrawlPick picker weighs, so its recommendation is not simply a win-rate table sorted from the top.
Common questions
What is the best brawler for Hot Zone?
In BrawlPick's data, Cosmo is the most reliable Hot Zone pick: it won 60.7% of 1,659 games, ahead of Juju and Trunk. That is all Hot Zone maps combined: the best pick on your map can differ, so check its own page in the Hot Zone maps list, and in a Ranked draft the bans and enemy picks change it again.
What brawler should I choose for Hot Zone?
One that can stand in the zone or deny it: wide or area attacks, sustain to stay on the point, or throwers that clear it from behind cover. Burst damage on a single target is less valuable here than in Knockout or Bounty, because a zone can be held without winning every fight.
Does it matter if the map has one zone or two?
Yes. With one zone, everything happens in the same place, so control and sustain on that point are what count. With two zones, your team has to split or rotate, so brawlers that move quickly or can hold a zone alone become more valuable.
Related guides
Map Statistics
Compare brawler win rates by map, with sample sizes and update dates shown.
Which Brawler Should I Choose?
A step-by-step way to choose a brawler: mode, map, bans, your team and the enemy picks.
Best Brawlers for Gem Grab
What to choose for Gem Grab: mid control, a safe gem carrier and map-by-map data.
Brawl Stars Draft Tool
A draft tool for the Ranked pick and ban phase that updates after every ban and pick.
Playing Hot Zone? Make your next pick count
Pick Hot Zone and your map in BrawlPick to see strong options from the brawlers you own, each with a short explanation. In a Ranked draft it plans picks around bans and enemy choices.
Choose your Hot Zone brawler